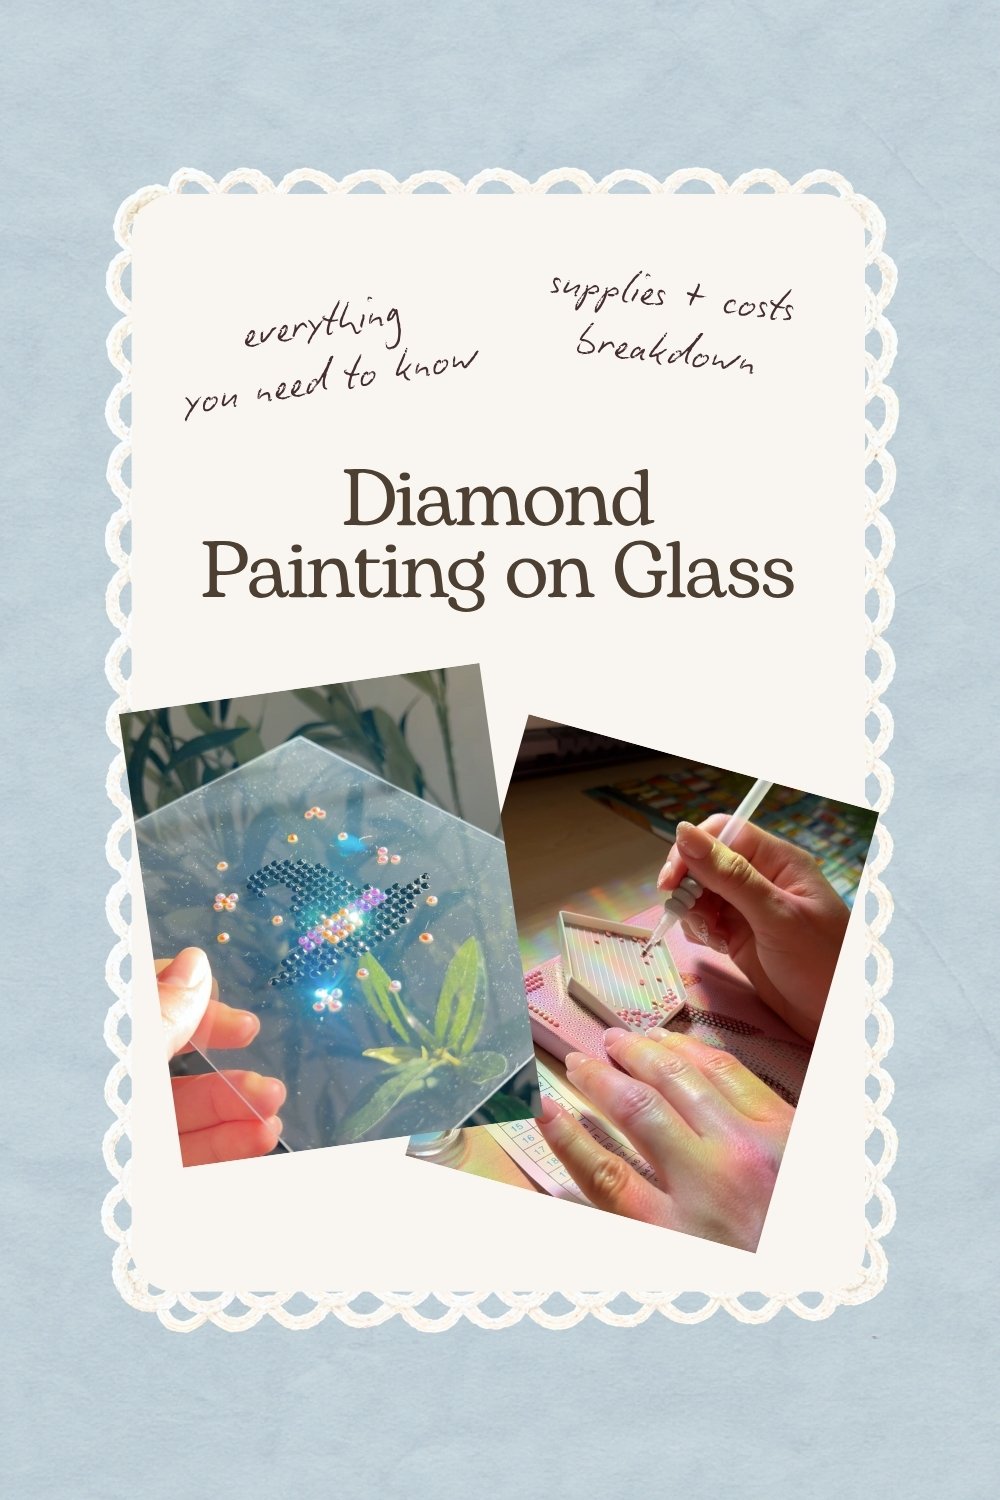
In this guide, I share the minimum supplies needed for making a diamond painting on glass + the cost of each material. If you haven’t tried diamond art at all, I recommend you buy a practice kit to get a feel for it and decide if you want to now make it on glass.
Video Breakdown
Glass vs Plexiglass
You can use glass from picture frames or do what I do and use plexiglass. It’s cheaper, thinner, and easier to work with.
Dimensions
Starting with the large dimensions, you can use 8 by 10 plexiglass. You can get a five pack and it costs $4.99. I use it with patterns on printed paper and with patterns from canvas kits I buy to convert them into a glass painting.
The other option, and honestly increasingly my favorite option, is a 5×7 10 pack for $7.99. You can do mini paintings and actually be done the same day, whereas patterns and big dimensions take me days to complete.
Drills, Diamonds, Rhinestones
It’s so fun picking them. There’s so many different types, but ultimately you’re looking for flatback sizes 2 millimeter, 3 millimeter, 4 millimeter, or 5 millimeter, and either round or square shape. Square shape increases the likeness of the painting to the original artwork, but still my favorite is the round shape. Other classifications to think about are classic resin, classic resin AB, jelly AB, transparent jelly AB, opaque shock, glitter, glow-in-the-dark, metallic resin, UV color changing, and so much more.
So, if you want me to make an article comparing all of these and showing you how they look, let me know in the comments.
Also note that some companies will sell sample cards so you can see all their types and colors and order which ones you like.
Trays, Pens, Wax, Craft Tape & Scissors
While you’re working on a painting, you’ll put the drills into trays to grab them easily. Kits always come with trays, so I’ve accumulated a few.
You’ll use pens to pick up the diamonds and place them into the surface of the painting. There are single ones to pick one diamond at a time and there are multi-tips ones where you can pick three at a time or six at a time. When picking a pen, think about the grip and the weight as well since you’ll spend many hours using it.
You can use wax for the pen to pick up the diamonds. They’ll usually come with kits or pen sets.
I use craft tape and scissors for handling the pattern. So, I’ll put tape on the other side of the glass and have the pattern behind it so I can mark it.
I use the scissors for making the pattern the size of the plexiglass dimension I’m using.
Where to get Diamond Painting Patterns & Designs
Bracelet Book & Etsy
Now on to my favorite part, where to find patterns and designs, especially for free. I use bracelet book for all my free patterns and I use Etsy to find patterns to purchase. In both you can look what type of design you’re interested in. So cottage core, Disney, celestial, etc.
I print them and then I place them in the back of the glass to then trace the pattern.
You can also use patterns or designs that come from kits, but place glass in front of it to convert it into a glass painting.
One thing to be careful with following patterns and buying patterns is make sure that you understand what size of drills they’re asking for. You’ll see very quickly that the pattern is not working anymore because you don’t have the right size.
Permanent Glue
When it comes to actually putting the diamonds in the glass, you’ll use permanent glue. There are so many options, but Gem-Tac is rumored to be one of the safe, non-toxic options. I use the back of a paintbrush and then individually place glue on each box of the grid. And then I attach the drills to it. I do this because it leaves the cleanest borders and once it dries, it turns clear.
I tried using double-sided sticker sheets because it works wonderfully on canvas, but on plexiglass, it leaves this white residue that is so bothersome. You have to manually wipe it off and it’s really hard to not take off the diamonds with it.
Total Costs
This is everything you need to start making diamond paintings on glass. And that brings us to a total of $64.22 including the color cards. Without those, the total is $40.24. Both assume you already have tape and scissors.
Nice to Have’s I’d argue are Essential
As a quick bonus, here are the nice to haves that I honestly would argue are essential. I use them all the time. Starting with storage options, you can buy different containers on Amazon. You can store your drills in them and use labels for each color and drill type. They’re travel friendly ones.
My favorite item!
And my absolute most favorite item you can have in your workspace is this easel. I was experiencing neck pain and then realized I kept looking down. But with the easel, I can have better posture.
It comes with different angle options and I have a standing desk so I can do the whole process while standing up. I put the other supplies on each side. It also makes you feel like an artist.
Consolidated Supply List
8×10 Plexiglass: https://amzn.to/4xGyAlQ
5×7 Plexiglass: https://amzn.to/4bSiLAk
3mm 40 colors Drills: https://amzn.to/4cCATyf
Beadsland Sample Color Card: https://amzn.to/3Sc794k
Novani Sample Color Card: https://amzn.to/3SfEcEF
Permanent Glue Gem-Tac: https://amzn.to/463YcgQ
60 Slot Storage Container: https://amzn.to/4cn0vz6
64 Slot Storage Container: https://amzn.to/4x6dhdQ
Easel: https://amzn.to/4x1DtWK